Materials
3 balls of Bernat Home Comfort (I used a little more than 2)
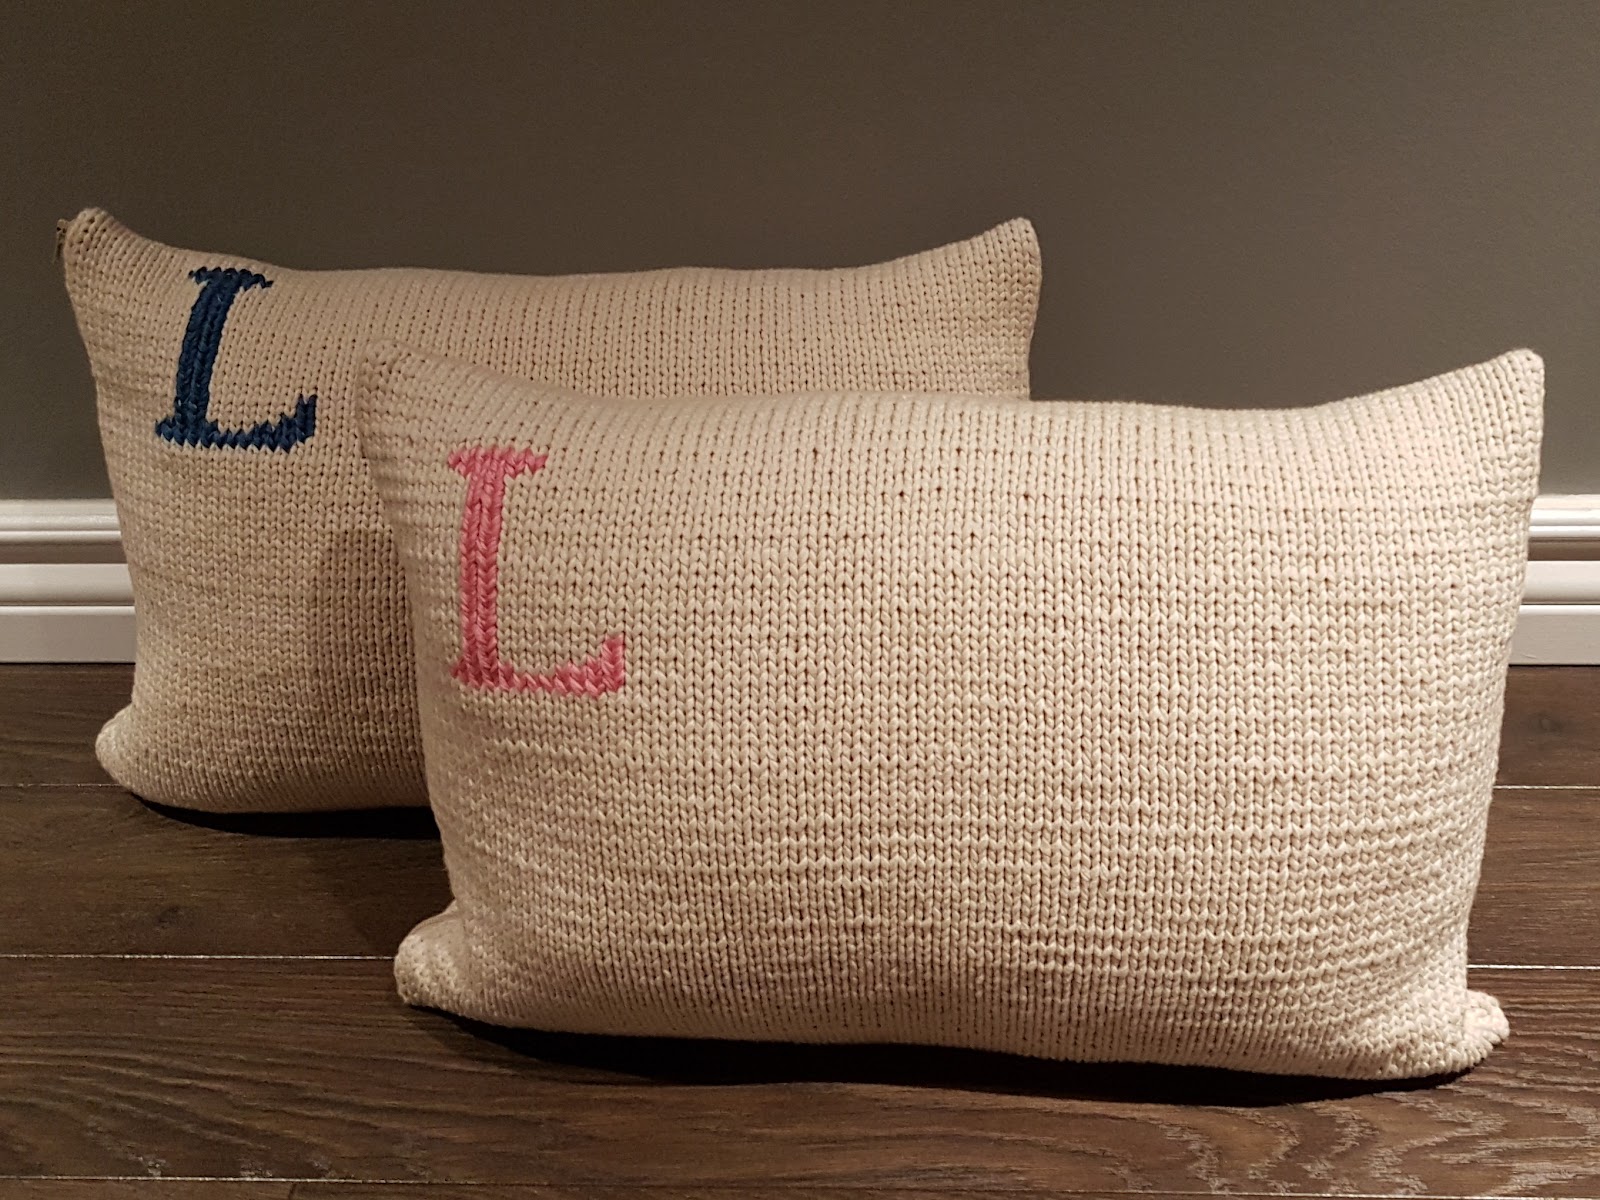
4 skeins of embroidery floss (2 for each pillow, I had 2 pink, 2 blue)
Size 10 (6mm) knitting needles (straight or circular, your choice)
Yarn / darning needle
2 pillow forms - 13x20
Gauge
16.5 stitches over 4 inches using 6mm needles
I made it fairly tight since I thought it made for a nice taught fabric on the pillow. I wanted no slouch at all.
Instructions
- See note on Step 7.
- Cast on 76 using provisional cast on.
- Knit in stockinette until piece measures 12” (or 1” less than finished pillow length, this allows for a nice snug fit).
- Embroider letter where desired using a chart from an embroidery book I have (you could google similar charts under ‘knitting charts letters’. I put my knit piece on the pillow to help judge placement of the letter because of the curve the pillow causes.
- Put provisionally cast on stitches on a needle so that both needle ends are parallel to each other for grafting. Kitchener stitch knit ends together.
- Sew up the right side using mattress stitch.
- Sew on zipper using needle and thread. I stitched just outside of the selvedge edge. *Note: I would try a different edge next time, the selvage was not attractive, such as a slip stitch or chained edge.
- Weave in all ends.
- Insert pillow, zip up and enjoy your beautiful work!


